Evaluation
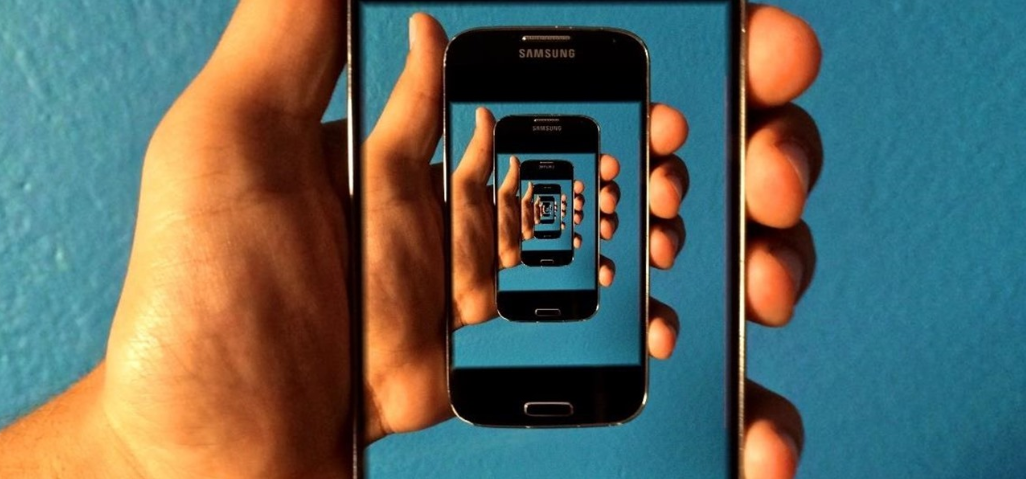
In this lesson, we were introduced to the idea of a picture within a picture. Again, we completed the Image Bank first, which gave us influence for our own ideas. We then used three different techniques to create three different photographs. Firstly, I shot four different images, each with a new model holding the same frame, in the same position in the center of the image. I then edited this photo so that the first person in the first images, was holding a frame with the next photo I took of the new model, and so on. So that the last person is the smallest picture in the photo, within the frame. The second technique was to keep the camera still, on a tripod and shoot a photo of a background, and then shoot the exact same photo again, but with a model in the center of the image holding a frame. With Photoshop, I then selected and deleted the space within the frame, to reveal the background, which creates the illusion that we are looking straight through the model's body. Finally, we then shot one image of a model holding the frame horizontally, and then shot a video, I chose to do a slow video of the same model, starting with his feet and travelling up to his face. We then edited these videos into the space of the frame, creating a moving picture within a picture. My camera was set to ISO 200, F22 and a shutter speed of 1/125.

For this image, I used 4 different models, and structured the portraits of each model so they all stood the same, as well as looking straight at the camera, and also holding the frame vertically. This is because, whilst editing, I then used these separate images and put each picture within the frame, one by one, until 3 of the photos were in the frame of the first photo, so that the picture is within a picture 4 times over. This makes the photo so much more interesting, and it is also clever because you cannot see that the pictures are exactly the same, just with different models, until you zoom in to where the frame is. Also, I like that the frame is held in the centre of the image, so that it becomes the main focus of the whole photo, indicating that it is the most important part of the image.

For this photo, I used the same technique for the photo above, except I asked my model to stand in front of a brick wall so that it became the background. I also shot a photo of the brick wall, without moving the camera at all as I had to keep it still, without the model so that I could edit the brick wall pattern within the frame later. Using photoshop, I layered the two photos with the model, and without the model, so that I could crop the correct part of the image that aligned with the brick wall, behind the model, with the part of the brick wall in the image without the model. This makes the final image look as though the brick wall is being shown through the models body. Again, the frame was held in the centre so that it becomes the main focal point of the image. I also like that the frame has a bold, black outline so that it really emphasises the picture within it.
This is the image/video we shot after the two photos above. For this, I shot a simple image of my model, keeping his entire body within the shot, but asked him to hold the frame horizontally this time as it makes placing the video into that part of the image a lot easier. After I had shot this, I then used the video setting on my camera to shoot a video. For this, I started from the same models' feet, and video'd from his feet upwards towards his face, in a panoramic style. This is now a youtube clip.